How to Install Magento 2.4.6 on Ubuntu 22.04
Magento Open Source 2.4.6 introduces support for PHP 8.2. PHP 8.1 remains fully supported, but support for PHP 7.4 has been removed. It includes significant performance and scalability enhancements. GraphQL operations for bulk cart operations and category tree rendering responses have been optimised.
This release includes over quality fixes and enhancements. Core Composer dependencies and third-party libraries have been upgraded to the latest versions that are compatible with PHP 8.2.
In this blog we will show you how to install the Open Source version of Magento 2.4.6 on Ubuntu 22.04 OS.
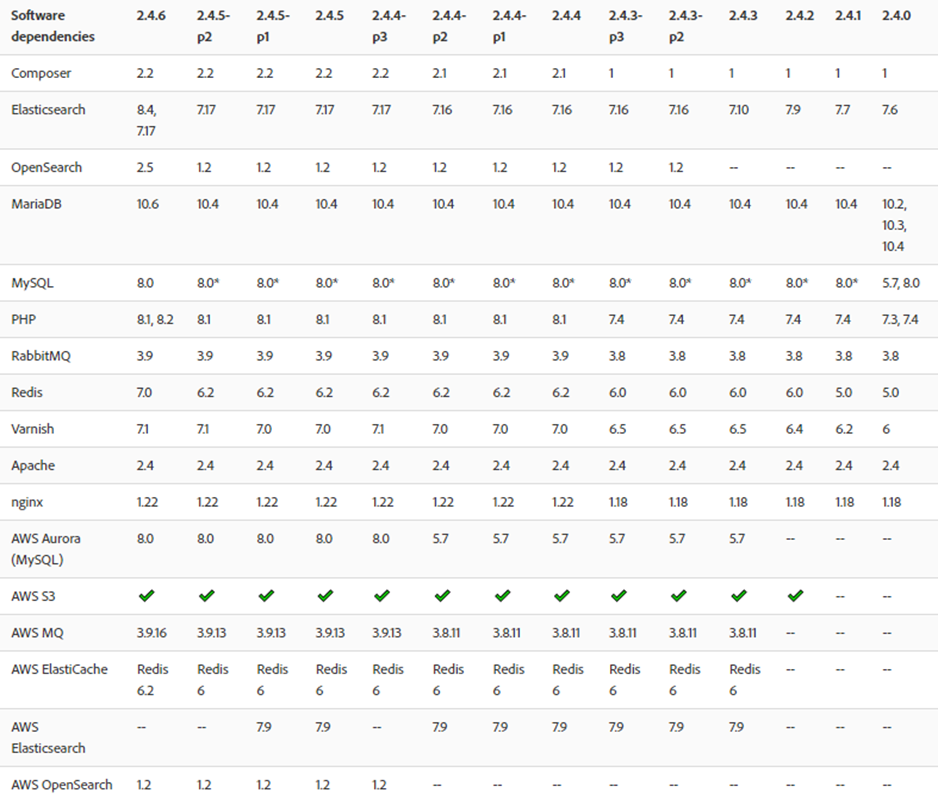
Before starting the installation, you can check the system requirements for installing Magento 2.4.6.
Prerequisites to be followed before installation:
1.Update and upgrade your operating system i.e., Ubuntu 22.04.
|
1 2 |
sudo apt update sudo apt-get upgrade |
2. Install Apache
2.1 Add following commands to install Apache
|
1 |
sudo apt install apache2 |
2.2 Check your version of Apache being installed
|
1 |
sudo apache2ctl -v |
2.3 Run following command to check whether apache2 is enabled or not.
|
1 |
systemctl is-enabled apache2 |
3.Install nginx web server
Adobe Commerce supports nginx 1.18 (or the latest mainline version).
|
1 |
# sudo apt install nginx |
4.Install PHP and and configure php-fpm.
Adobe Commerce and Magento Open Source require several PHP extensions to function properly.
In addition to these extensions, you must also install and configure the php-fpm extension if
you are using nginx.
4.1. Install php-fpm and php-cli.
|
1 |
sudo apt-get -y install php7.2-fpm php7.2-cli |
4.2. Open the php.ini files in an editor.
|
1 2 |
vim /etc/php/7.2/fpm/php.ini vim /etc/php/7.2/cli/php.ini |
4.3. Edit both files to match the following lines.
|
1 2 3 |
memory_limit = 2G max_execution_time = 1800 zlib.output_compression = On |
4.4. Save and exit the editor.
4.5. Restart the php-fpm service.
|
1 |
sudo systemctl restart php7.2-fpm |
5. Install MYSQL 8 ,phpmyadmin and create a database.
5.1 To install MySQL, run the following command from a terminal prompt.
|
1 |
sudo apt install mysql-server |
5.2 Then, run following command.
|
1 |
mysql_secure_installation |
5.3 To install phpmyadmin
|
1 |
sudo apt install -y phpmyadmin |
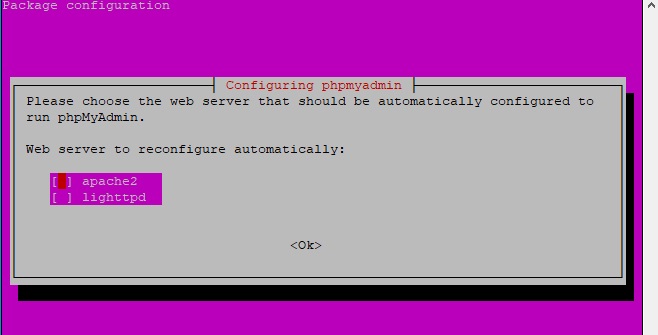
When prompted to choose a web server, hit TAB, then ENTER to select apache2 as shown in the screenshot below.
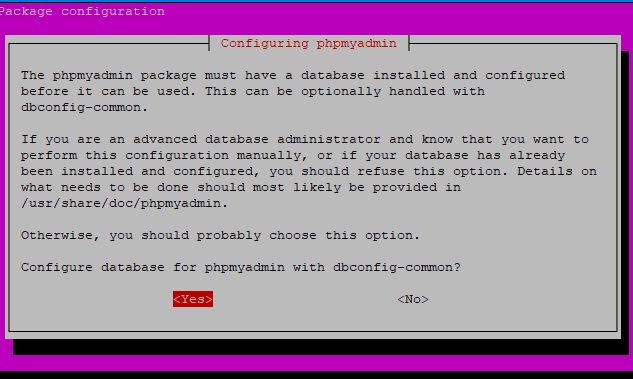
When prompted to configure a database for your phpMyAdmin package, choose Yes and press ENTER to proceed.
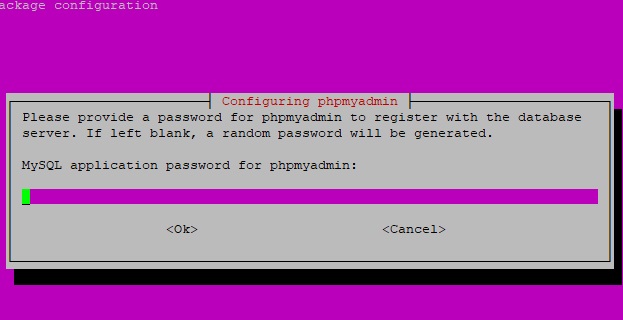
Enter a strong password for the phpMyAdmin package. Press TAB and ENTER to proceed.
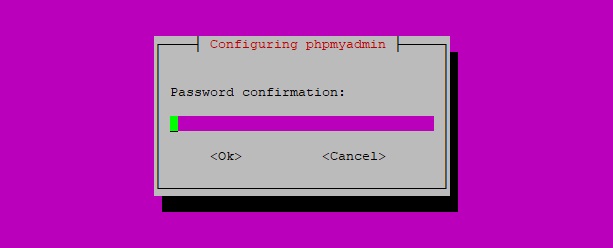
Repeat the same password to finalize the installation process. Press TAB and ENTER to continue.
Use the a2enconf command to enable the new configuration file created by the phpMyAdmin..
|
1 2 |
sudo ln -s /etc/phpmyadmin/apache.conf /etc/apache2/conf-available/phpmyadmin.conf sudo a2enconf phpmyadmin.conf |
then, restart Apache to load the new configuration file.
|
1 |
sudo systemctl restart apache2 |
5.3 Start the database server daemon, and also enable it to start it automatically with the next boot with the following command.
|
1 2 |
# systemctl start mysql # systemctl enable mysql |
5.4 After database server being installed, log into the MySQL prompt.
|
1 |
# mysql -u root -p |
5.5 Enter the following commands in the order shown to create a database instance named magento with username magento .
|
1 2 3 4 |
create database magento; create user 'magento'@'localhost' IDENTIFIED BY GRANT ALL ON magento.* TO 'magento'@'localhost'; flush privileges; |
5.6 Enter exit to quit the command prompt.
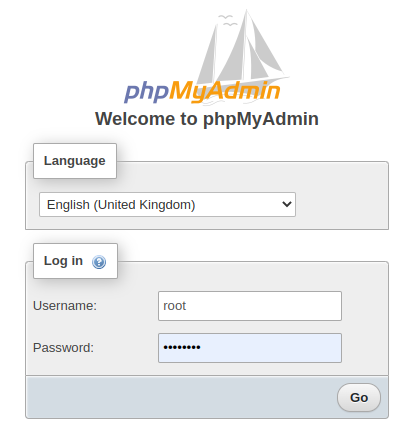
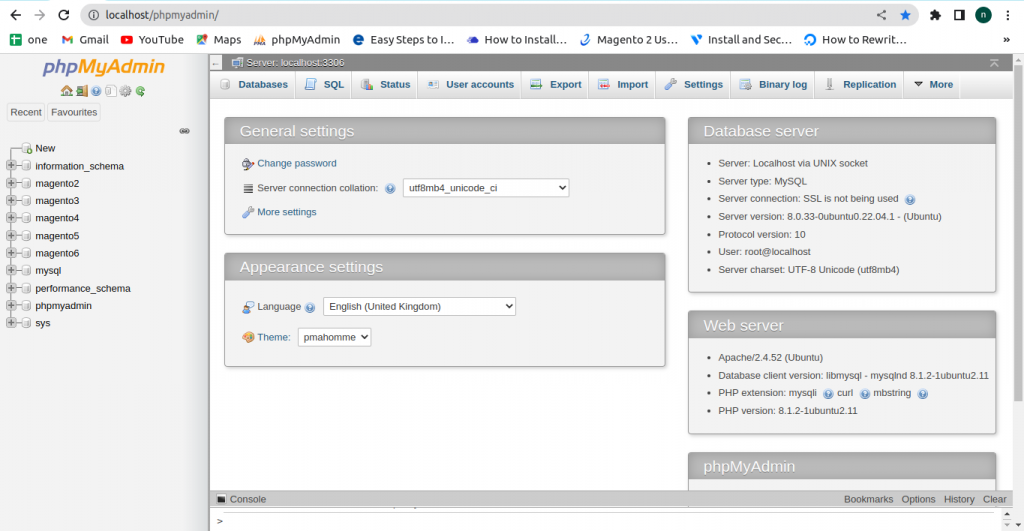
5.7 Navigate to the URL below in a web browser to test the installation. Replace 127.0.0.1 or Localhost with the correct domain name or public IP address of your server.
http://127.0.0.1/phpmyadmin
Then enter the credentials of the user you’ve just created to log in.
5.8 Verify the database.
|
1 |
mysql -u magento -p |
6. Installing Elasticsearch.
6.1 Import the Elasticsearch GPG key.
|
1 |
# wget -qO - https://artifacts.elastic.co/GPG-KEY-elasticsearch | sudo gpg --dearmor -o /usr/share/keyrings/elasticsearch-keyring.gpg |
6.2 Add the Elasticsearch repository.
|
1 |
# echo "deb [signed-by=/usr/share/keyrings/elasticsearch-keyring.gpg] https://artifacts.elastic.co/packages/8.x/apt stable main" | sudo tee /etc/apt/sources.list.d/elastic-8.x.list |
6.3 Update the apt package manager and install Elasticsearch.
|
1 |
# sudo apt update && apt install elasticsearch |
6.4 After that start and enable the service.
|
1 2 |
# sudo systemctl start elasticsearch # sudo systemctl enable elasticsearch |
6.5 Open the elasticsearch.yml file.
|
1 |
sudo nano /etc/elasticsearch/elasticsearch.yml |
6.6 And replace this setting with false.
|
1 2 |
# enable security features xpack.security.enabled: false |
6.7 After that, you should restart elasticsearch service for the configuration.
|
1 |
# sudo systemctl restart elasticsearch.service |
6.8 To verify your Elasticsearch working.
|
1 |
curl -XGET 'localhost:9200' |
6.9 It would look like this, if Elasticsearch is working properly:
|
1 2 3 4 5 6 7 8 9 10 11 12 13 14 15 16 |
{ "name" : "Z0S2B05", "cluster_name" : "elasticsearch_myname", "cluster_uuid" : "V-kpikRJQHudN-Wzdt-IrQ", "version" : { "number" : "6.8.7", "build_flavor" : "oss", "build_type" : "tar", "build_hash" : "c63e621", "build_date" : "2020-02-26T14:38:01.193138Z", "build_snapshot" : false, "lucene_version" : "7.7.2", "minimum_wire_compatibility_version" : "5.6.0", "minimum_index_compatibility_version" : "5.0.0" }, "tagline" : "You Know, for Search"x |
7. Install PHP 8.1 and Related Modules
Add following command for update PHP and to check its version.
|
1 2 |
sudo apt update php -v |
You will receive output like this:
|
1 2 3 4 5 |
PHP 8.1.2 (cli) (built: Apr 7 2022 17:46:26) (NTS) Copyright (c) The PHP Group Zend Engine v4.1.2, Copyright (c) Zend Technologies with Zend OPcache v8.1.2, Copyright (c), by Zend Technologies |
You can also install more than one package at a time. Here are a few suggestions of the most common modules you will most likely want to install:
|
1 2 |
sudo apt-get install -y php8.1-cli php8.1-common php8.1-mysql php8.1-zip php8.1-gd php8.1-mbstring php8.1-curl php8.1-xml php8.1-bcmath sudo apt install php8.1 php8.1-cli php8.1-common libapache2-mod-php8.1php8.1-mysql php8.1-mbstring php8.1-curl php8.1-xml php8.1-bcmath php8.1-soap php8.1-intl php8.1-gd php8.1-zip |
This command will install the following modules:
- php8.1-cli – command interpreter, useful for testing PHP scripts from a shell or performing general shell scripting tasks
- php8.1-common – documentation, examples, and common modules for PHP
- php8.1-mysql – for working with MySQL databases
- php8.1-zip – for working with compressed files
- php8.1-gd – for working with images
- php8.1-mbstring – used to manage non-ASCII strings
- php8.1-curl – lets you make HTTP requests in PHP
- php8.1-xml – for working with XML data
- php8.1-bcmath – used when working with precision floats
8.For installing Composer.
8.1 For downloading the Composer, use the following command:
|
1 |
# curl -sS https://getcomposer.org/installer | php |
8.2 Move the composer file to the /usr/local/bin path.
|
1 |
# mv composer.phar /usr/local/bin/composer |
8.3 Assign execute permission.
|
1 |
# chmod +x /usr/local/bin/composer |
8.4 Verify the composer version installed.
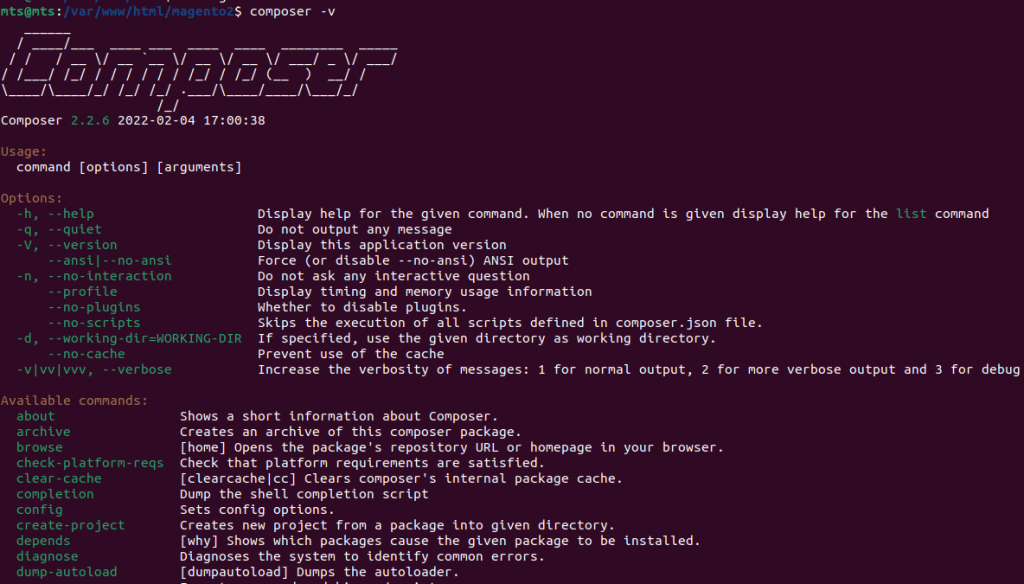
9.Install Magento 2.4.6.
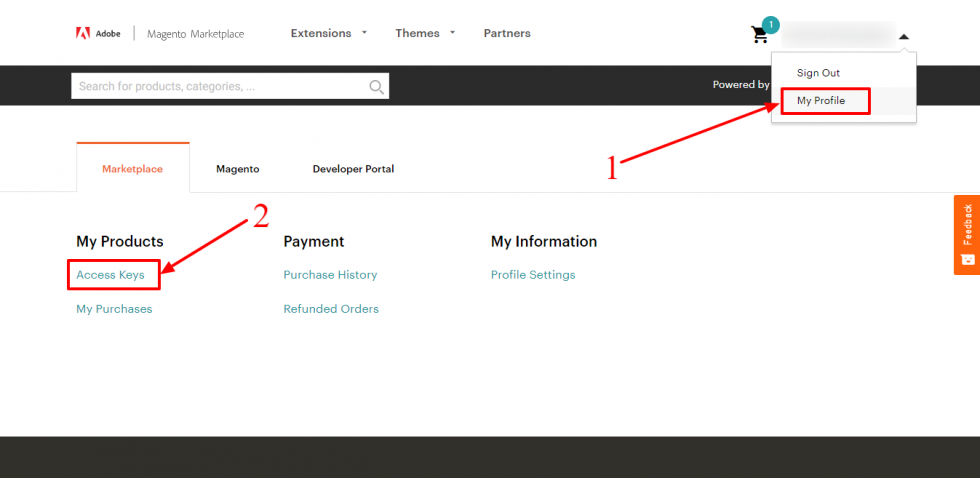
9.1 Mostly it is recommended to install Magento using Marketplace by creating access key.
For generating access key go to:
My Profile>Marketplace>My Products>Access Keys:
Run following command to download Magento 2.4.6.
|
1 2 |
# composer create-project --repository-url=https://repo.magento.com/ magento/project-community-edition=2.4.6 /var/www/html/magento2 |
Username: Your Public Key:e6161608af9152b013f07ad3e1f8b9a2
Password: Your Private Key:4cde0d7054178296e40fe105b4f650b1
9.2 Navigate to Magento directory and change mode of cache and static content folder.
|
1 |
find var generated vendor pub/static pub/media app/etc -type f -exec chmod g+w {} + |
9.3 Now change the Ownership of Magento Directory to Web server user and also permission.
|
1 2 |
# chown -R www-data:www-data /var/www/html/magento2 # chmod -R 755 /var/www/html/magento2 |
9.4 Create the user and go to the magento 2 directory.
|
1 |
cd /var/www/html/ |
9.5 Run following command to disable magento module.
|
1 |
sudo php bin/magento module:disable {Magento_Elasticsearch,Magento_InventoryElasticsearch,Magento_Elasticsearch6,Magento_Elasticsearch7} |
9.6 Then, install Magento using composer command.
|
1 2 3 4 5 6 7 8 9 10 11 12 13 14 15 |
# sudo php bin/magento setup:install \ --base-url=http://your-domain.com \ --db-host=localhost \ --db-name=magentodb \ --db-user=magentouser \ --db-password=MyPassword \ --admin-firstname=Admin \ --admin-lastname=User \ --admin-email=admin@your-domain.com \ --admin-user=admin \ --admin-password=admin123 \ --language=en_US \ --currency=USD \ --timezone=America/Chicago \ --use-rewrites=1 |
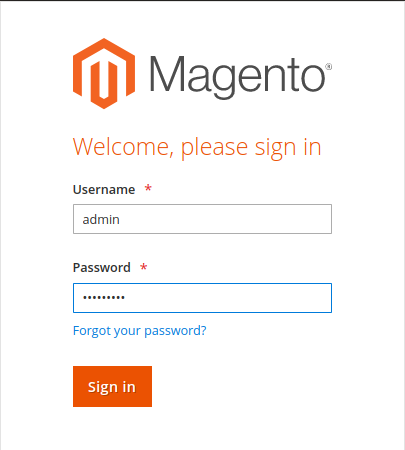
9.7 After installation you will see Magento admin link.
|
1 |
[SUCCESS]: Magento Admin URI: /admin_o07lew |
10. Change DocumentRoot To Pub
10.1 If you are installing Magento locally, you can add
|
1 |
sudo nano /etc/apache2/sites-available/magento2.conf |
10.2 Modify file as shown below
Remove ‘#’ from server name.
|
1 2 3 4 5 6 7 8 9 10 |
<virtualhost *:80=""> ServerAdmin webmaster@localhost DocumentRoot /var/www/html/magento2/pub ServerName magento2 ErrorLog ${APACHE_LOG_DIR}/error.log CustomLog ${APACHE_LOG_DIR}/access.log combined <directory "="" var="" www="" html"=""> AllowOverride all </directory> </virtualhost> |
10.3 Restart Apache for the changes to take effect.
You can add domain.com. Then you have to update hosts file at /etc/hosts with
|
1 |
sudo nano /etc/hosts |
Add this below in localhost
127.0.0.1 localhost
127.0.0.1 magento2
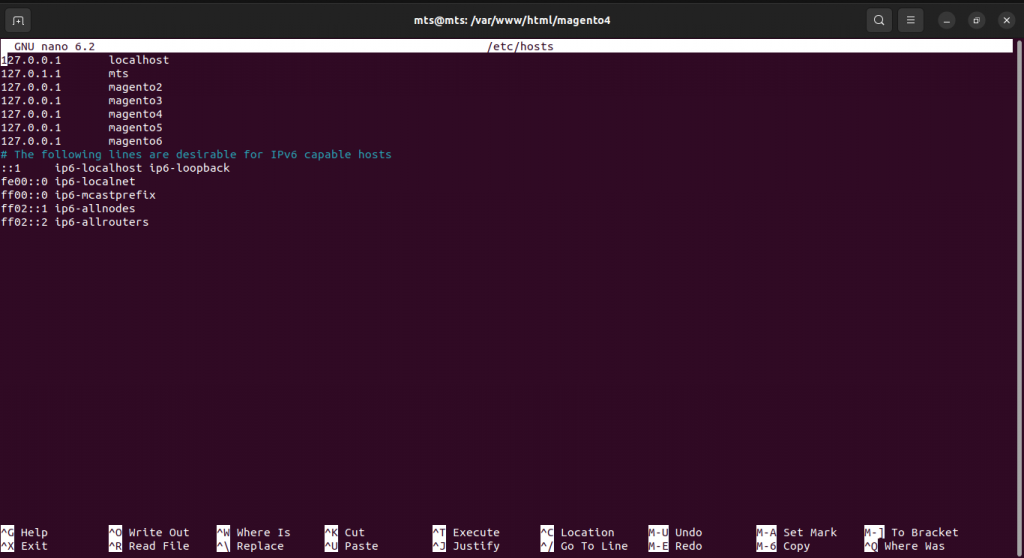
To save the above file Ctrl + o and then Press Enter and Close it with Ctrl + x.
10.4 Configure Elasticsearch
Start editing the main elasticsearch.yml configuration file. Open it using nano or your preferred text editor
|
1 |
sudo nano /etc/elasticsearch/elasticsearch.yml |
Remove the # character at the beginning of the lines for node.name and cluster.name to uncomment them, and then change their values. Your first configuration changes in the /etc/elasticsearch/elasticsearch.yml file will look like this
node.name: “My First Node”
cluster.name: my-application
Then, search for the line that contains network.host, uncomment it, and change the value to 0.0.0.0
Set the network host to 0.0.0.0 to listen on all interfaces and make it available publicly,
network.host: 127.0.0.1 or localhost
http.port: 9200
11. Configure Nginx web server for Magento 2.4.6.
11.1 Navigate to etc/nginx/conf.d directory and run following command to create a configuration file for Magento installation.
|
1 |
# sudo nano /etc/nginx/conf.d/magento2.conf |
Then add following content:
|
1 2 3 4 5 6 7 8 9 10 11 |
upstream fastcgi_backend { server unix:/run/php/php8.1-fpm.sock; } server { listen 80; server_name your-domain.com www.your-domain.com; set $MAGE_ROOT /var/www/magento2; include /var/www/magento2/nginx.conf.sample; } |
11.2 Save file and exit.
11.3 Restart Nginx web server.
12.Magento 2.4.6 Application.
12.1 Below code is required for developer mode.
|
1 2 |
sudo php bin/magento deploy:mode:set developer sudo a2enmod rewrite |
12.2. After Install Magento Run the following command To Get Homepage And Admin in Root Directory.
|
1 2 3 4 5 6 7 8 9 10 11 12 |
sudo chown -R www-data:www-data /var/www/html/magento2/ sudo chmod -R 777 var pub sudo chmod -R 755 /var/www/html/magento2/ sudo a2ensite magento2.conf sudo systemctl restart apache2 sudo a2enmod rewrite sudo php bin/magento indexer:reindex sudo php bin/magento setup:upgrade sudo php bin/magento setup:di:compile sudo php bin/magento setup:static-content:deploy -f sudo php bin/magento cache:flush sudo chmod -R 777 * |
12.3 Also for admin authorisation .
|
1 2 |
sudo php bin/magento module:disable Magento_AdminAdobeImsTwoFactorAuth sudo php bin/magento module:disable Magento_TwoFactorAuth |
13. To install sample data for Magento 2.
13.1 To install the sample data, run the below command.
|
1 2 3 4 5 |
sudo php bin/magento sampledata:deploy sudo php bin/magento indexer:reindex sudo php bin/magento setup:static-content:deploy -f sudo php bin/magento c:f sudo chmod -R 777 * |
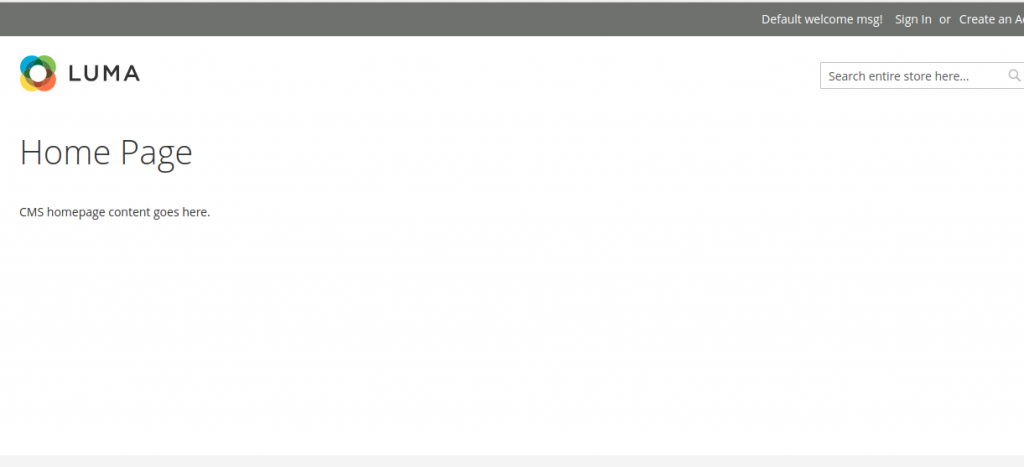
13.2 Sample data will fill your website with some products, categories and images so your website will look like this:


Well done! refresh your website and enjoy your new Magento 2.4.6 installation with sample data.